Getting your Unity projects set up with version control is super easy and worthwhile! There are many options, but in this post, I’ll outline how to set up with git and GitHub, using GitHub Desktop for ease.
Step 1: Install Git
If you do not have git installed on your machine, you’ll need to get it. There are Mac, Windows and Linux versions.
After you finish the installation, you will gain access to an application called Git BASH, which provides a command-line experience. We’ll use a nice easy GUI instead as you’re likely new to version control.
There are several GUI clients you can use, including Sourcetree, GitKraken and many, many more. We’ll use Github Desktop, which is quite popular and simple to use. I like how clean it looks.
Step 2: Install Github Desktop (or another GUI if you prefer)
Go to https://desktop.github.com/ and download the right version for your computer.
Step 3: Make a repository on Github.
Go to https://github.com/.
- If you have a GitHub account, simply log in.
- If you do not have a GitHub account, you can create one for free.
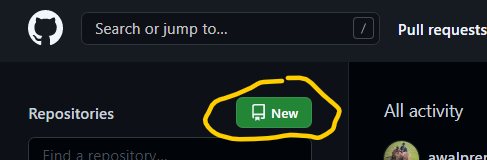
Once there, you can click “New” button next to Repositories. (You can also just go to github.com/new to create a new repo.)
Give your repository a descriptive name – no spaces allowed.
You can decide whether you want it to be public (others can see it on your GitHub) or private (only for you unless shared).
Click Add .gitignore and select the Unity template if you want to ensure you are excluding certain Unity files in git. You can learn more about what a .gitignore file does here.
- Note: It is highly advisable you do this step or set one up shortly after to avoid every single file in your Unity project being tracked!

Once you have completed your repo preferences, click “Create repository”.
You should now have a cute little repo set up. 🥰

Step 4: Make a new repo in GitHub Desktop (or whatever GUI you are using).
Open up GitHub Desktop. You should have it installed from Step 2.
You might be prompted to sign-in with your GitHub credentials if it’s the first time. Go ahead and do that.
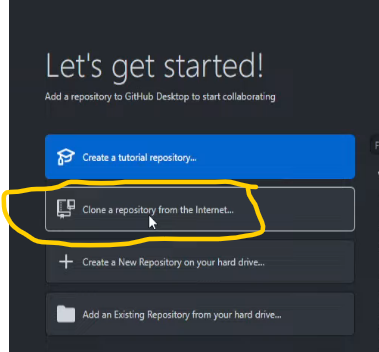
Look for an option to Clone a repo from the internet. It will show like below if you are new to using GitHub Desktop. Otherwise, just go to File -> Clone Repository.
You should see all your repos from GitHub! Simply select the one you just made. Mine was called “ReallyAwesomeGame” so I will choose that.
- Hint: There’s a search bar there too in case you have hundreds of repos.
Then, you’ll need to set the local path. Navigate to the location where you keep your Unity projects where this will be created.

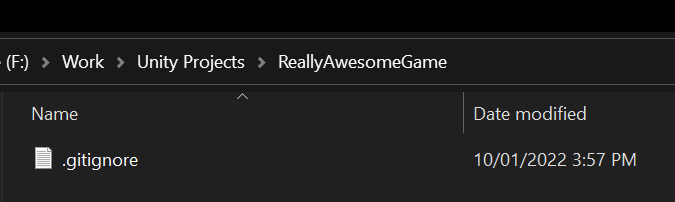
Nice! After that, you should just see the .gitignore file. (Unless you have your explorer set to show hidden files).
Step 5: Move a new or existing Unity project into your newly created folder (the one above with the .gitignore file).
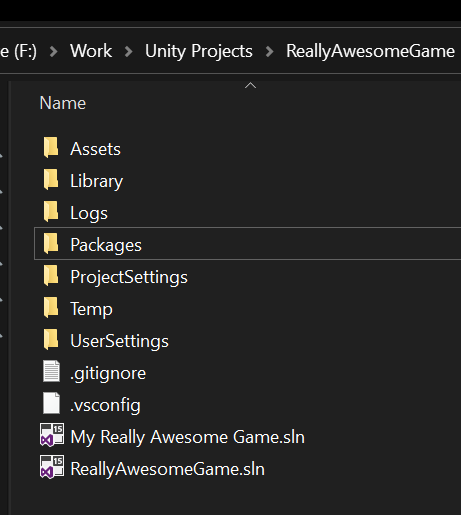
Whatever game you want to have version control for, go ahead and drag its Unity project files into that folder. It should look like this once done.
Step 6: Go to GitHub Desktop to do your first project commit!
You should now see ~30 unstaged files in your GitHub Desktop client now (if you used the .gitignore as directed, otherwise you will see a different amount).
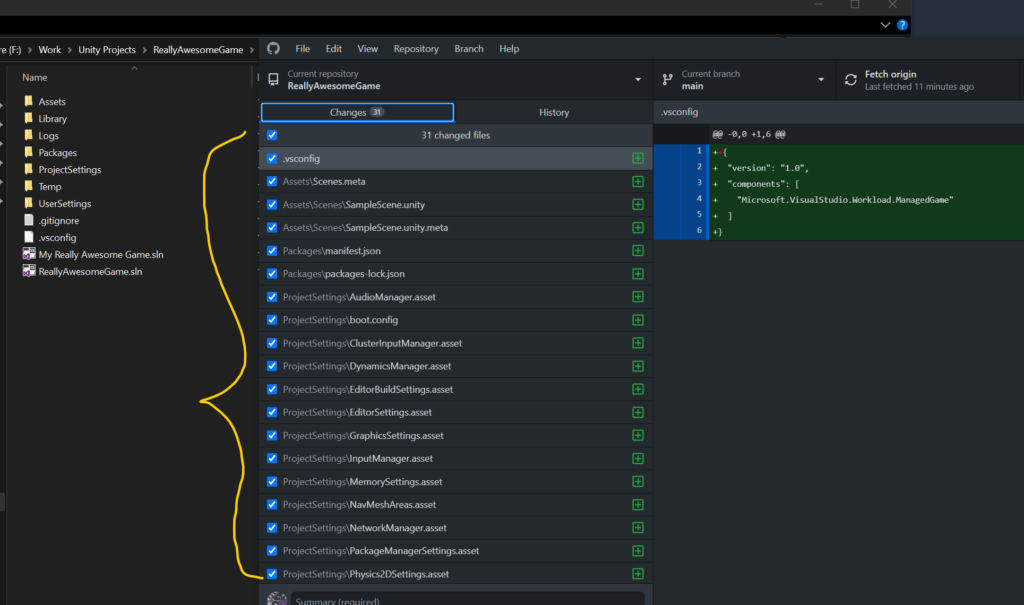
You can choose to untick certain files you don’t want to commit at this stage, but we’ll do the full bunch.
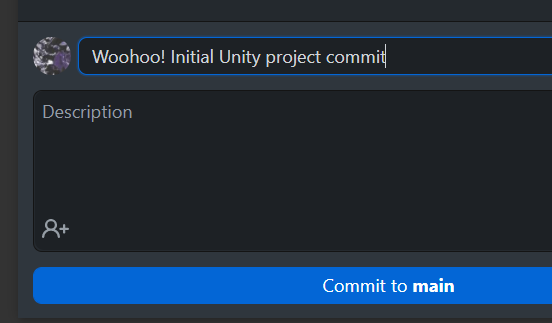
Type a Commit message and press Commit to main.
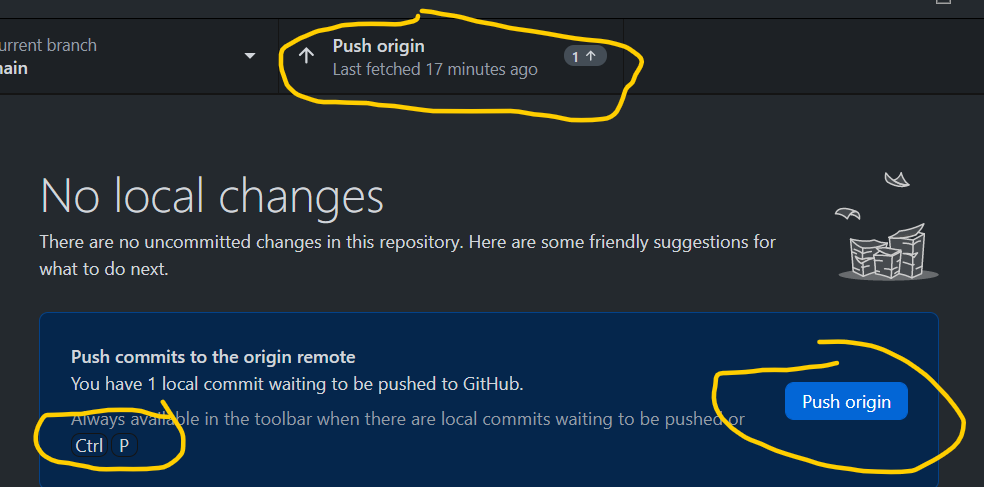
One more step to get it onto GitHub online: after you commit, you’ll need to Push. There are three ways to do so in the client, as shown below.
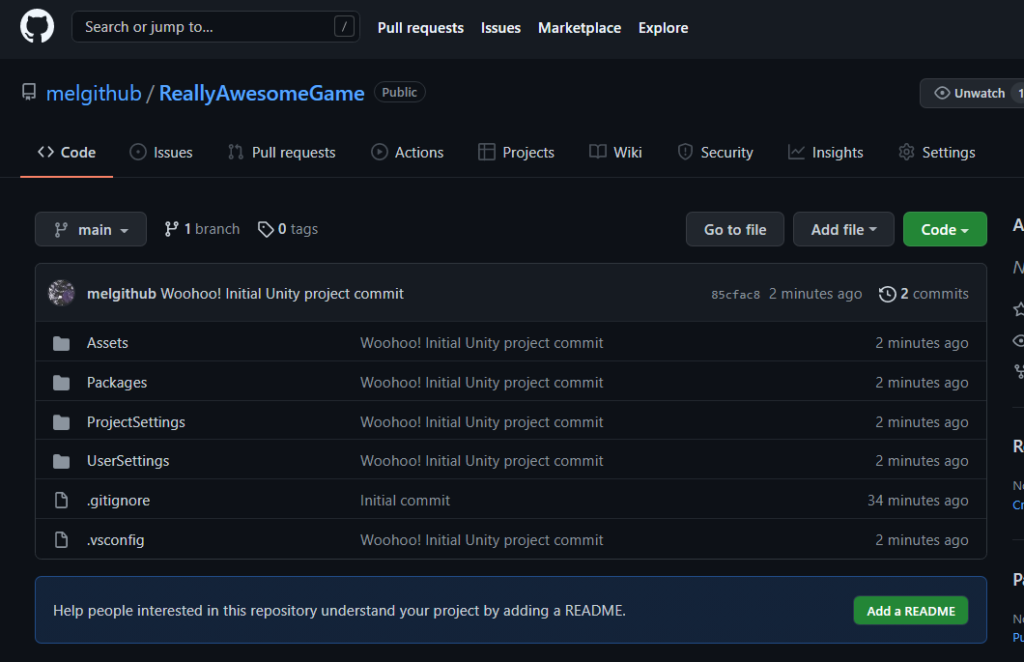
We did it!!! 🙌 If you refresh your repo online, you should hopefully see all the new folders and files from your Unity project.
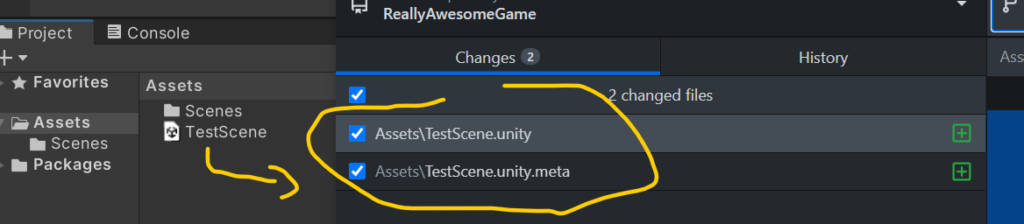
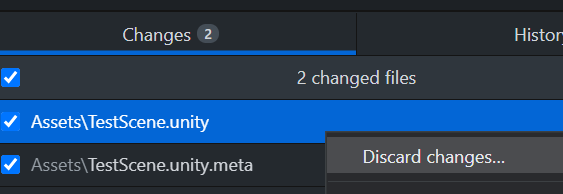
OPTIONAL: Test it! Make a new file in your Unity project and Save Project to see it in your GitHub Desktop. If you right-click and discard it in GitHub Desktop, it’ll disappear from your Project.
Step 7: Make sure Unity is on board!
⚠️ It’s important that you are properly generating and committing metafiles. To make sure that’s all working properly, check these settings in your Unity project.
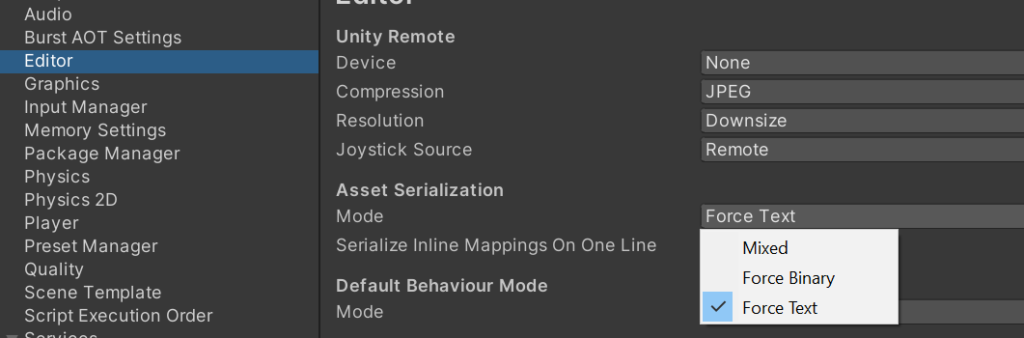
Go to Edit -> Project Settings, then in the Editor menu, make sure that the Asset Serialization Mode is set to “Force Text”, like below.
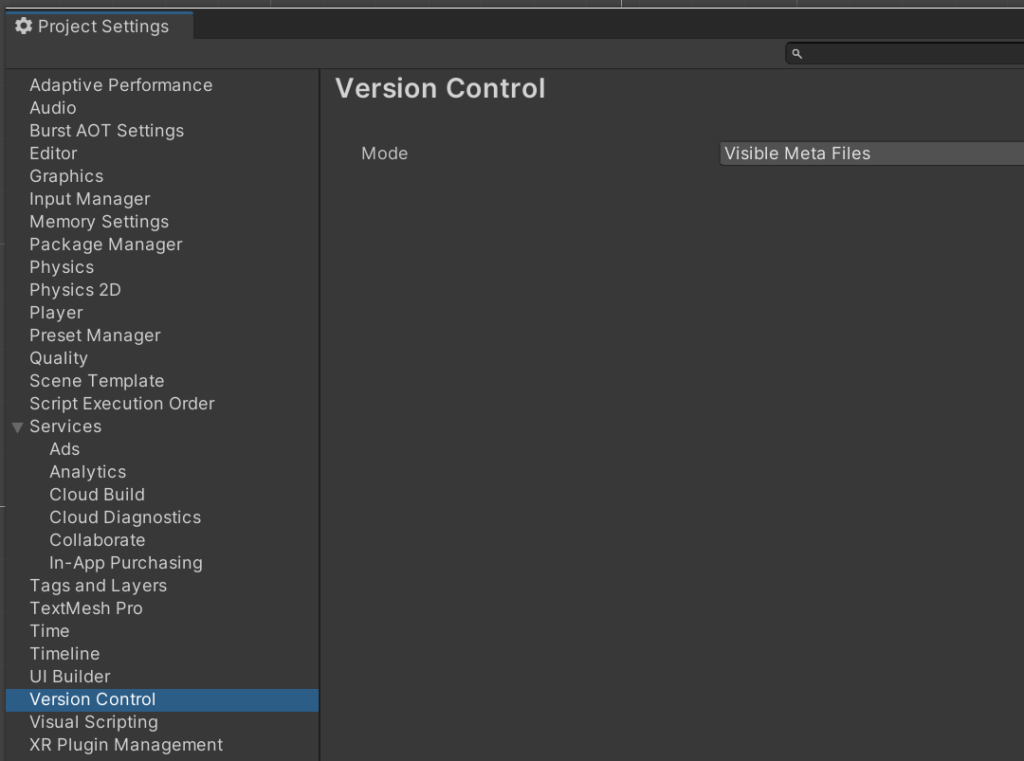
There might also be a setting there called Version Control Mode. If it is there, set it to “Visible Meta Files”. If it is not there, Version Control has its own tab on the left menu. Set it as below.
🫡 Well, that’s it! You should be good to work on your project, with the peace of mind that it can be safely backed up. Pushing and pulling through GitHub Desktop is very easy, but you are free to try out other GUIs or even the command line if you are really cool.