In this post, we’ll run through how to set up 2D player movement using the “New” (not so new anymore) Player Input System in Unity3D. We’ll reserve directional movement anims for the next post, as those tend to be more cumbersome to set up.
Get the Input System
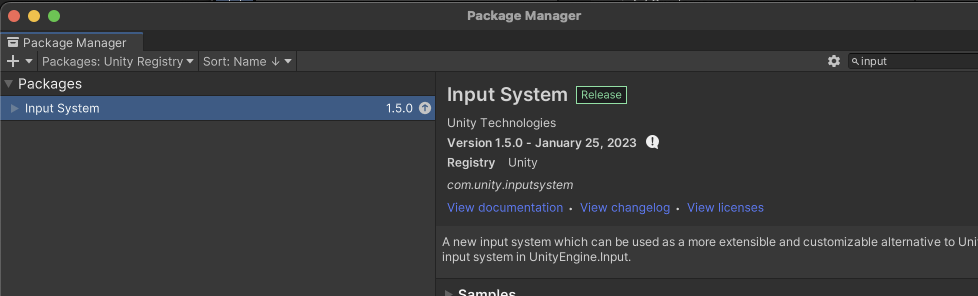
If you don’t have the new Input System, you can get from Window -> Package Manager.
Create in Input Actions file
Now, in your Project folder, I’d suggest making a new folder for “Input”.
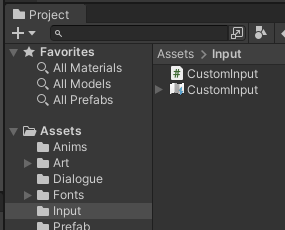
In that new folder, right-click -> Create -> Input Actions. Call it something helpful, like CustomInput. This is the file we’ll use to set up our input actions for movement.
I’ve named my Custom Input.
Set up movement bindings
For ease, we’ll set up for WASD control scheme. But, it’s very easy to configure for joystick movement as well!
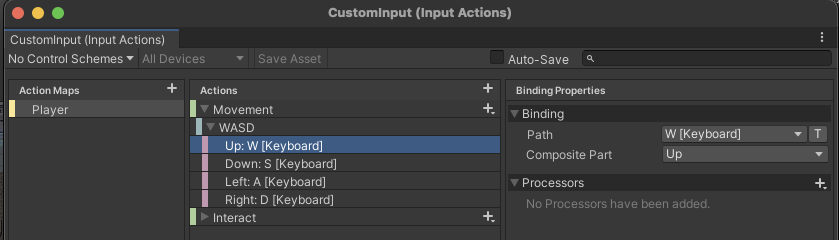
You’ll see that Unity generated an .inputactions files as well as a script. Double-click on the .inputactions file to get started.
Add a “+” to set up an action map. (An action map just represents a logical grouping of related input actions). Let’s call it Player.
Next, under Actions, click “+” and call it “Movement”.
- Set Action Type to Value
- Set Control Type to Vector 2

Then, click on the <No Binding> item underneath Movement. Right-click it and delete it.
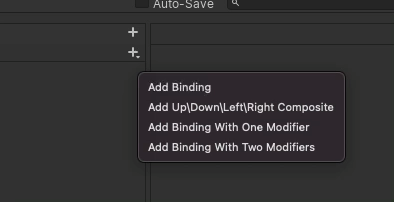
Click the “+” to add a new binding the setting Add Up/Down/Left/Right Composite.
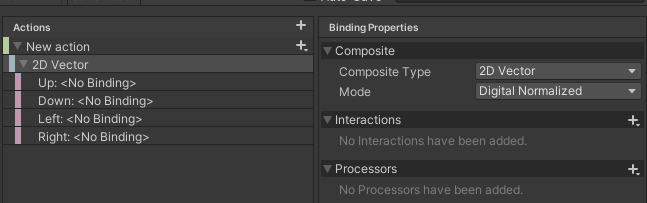
Name it from 2D Vector to “WASD” to keep organized.
- Leave the Composite Type to 2D Vector
- Leave the Mode to Digital Normalized
Start setting up the directional info for the keys, W, A, S and D, respectively. You can define the key by browsing the Path menu or simply pressing that key on your keyboard. Make sure to set each key to the correct direction as below.
Nice! You’re nearly there.
Create a player movement script
It won’t work quite yet, as you need to attach a script to your Player GameObject to get this working. There are many ways to do this, but I’ll add some code here that you can use and it should work.
Make a new script called PlayerMovement in your Project, ideally in a “Scripts” folder if you haven’t made one already.
- I’m not going to explain all the code in detail, but the gist of it – we’re using event handling to enable/disable the movement input actions. We’ll be using a Rigidbody 2D on the player and upload the velocity of it in the FixedUpdate method.
using System.Collections;
using System.Collections.Generic;
using UnityEngine;
using UnityEngine.InputSystem;
public class PlayerMovement : MonoBehaviour
{
private CustomInput input = null;
private Vector2 moveVector = Vector2.zero;
private Rigidbody2D rb = null;
private float moveSpeed = 10f;
private void Awake()
{
input = new CustomInput();
rb = GetComponent<Rigidbody2D>();
}
private void OnEnable()
{
input.Enable();
input.Player.Movement.performed += OnMovementPerformed;
input.Player.Movement.canceled += OnMovementCanceled;
}
private void OnDisable()
{
input.Disable();
input.Player.Movement.performed -= OnMovementPerformed;
input.Player.Movement.canceled -= OnMovementCanceled;
}
private void FixedUpdate()
{
rb.velocity = moveSpeed * moveVector;
}
private void OnMovementPerformed(InputAction.CallbackContext value)
{
moveVector = value.ReadValue<Vector2>();
}
private void OnMovementCanceled(InputAction.CallbackContext value)
{
moveVector = Vector2.zero;
}
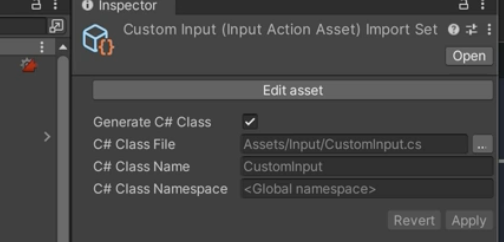
}Before we move on to setting up our player, click your input file in the Project. In the inspector, tick the Generate C# Class. It won’t work without this step as it needs to create a script with your input action info.
Final step – set up your player!
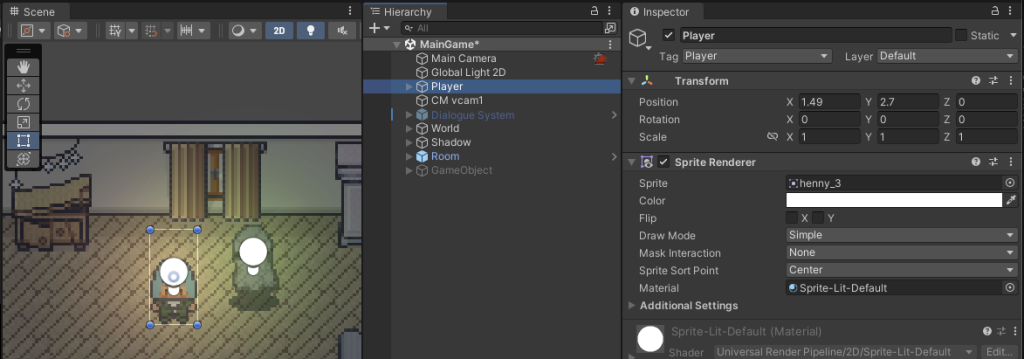
If you don’t already, add a GameObject in your scene to represent the player. Make sure they have a renderer on them so that you can see them in the game.
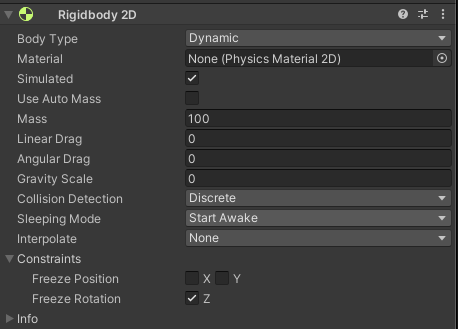
Add a Rigidbody 2D component to your player since our movement technique relies on it. Leave settings default for now.
Then add the PlayerMovement script.
Now when you use WASD in the Game window, your character should move about! You’ll notice they might be slipping though. There are a few RB settings we should tweak.
These should work:
Now, hit Play and try to move with WASD again. It should work as below.
Well done!
You’ll notice that our player isn’t animating when they move. That’ll be a topic for next post!